
How to Dance Tap Your Guide to Mastering the Basics
Think of tap dancing as turning your feet into a percussion instrument. It all starts with the fundamentals: mastering your posture, finding the rhythm, and getting comfortable with the basic weight shifts that lay the groundwork for those iconic steps like the shuffle, flap, and ball-change.
Welcome to the World of Tap Dance
Welcome to the exciting world of tap! It’s so much more than just making noise with your feet. Tap is a true art form where you create complex rhythms and express music in a way few other dance styles can match.
This journey is open to absolutely everyone, whether you’re a parent in Lehi looking for a fun activity for your child or an adult in Sandy ready to dive into something new. The thrill of tap is universal, and getting started is more about preparation than perfection.
Tap dance was born in the United States back in the 19th century, a fantastic blend of West African foot-percussion traditions and British/Irish clog dancing. It shot to global fame during Broadway's "Golden Age" and saw a huge comeback in the 1970s. It's so culturally significant that the U.S. Congress even designated May 25 as National Tap Dance Day in 1989.
Find Your Rhythm Before You Find Your Shoes
Believe it or not, the first step has nothing to do with tap shoes. It’s all about training your ears. Tap is fundamentally about hearing and creating beats, so start by listening to music with a clear, steady tempo. Simple jazz, blues, or even pop songs with a strong 4/4 time signature work perfectly.
Try these simple exercises to get started:
- Clap the Beat: Put on a song and just clap along to the main beat. Once you've got that down, challenge yourself to clap on the off-beats (the "ands" between 1, 2, 3, 4).
- Count It Out: Practice counting "1-and-2-and-3-and-4-and" along with the music. This simple exercise helps you internalize the rhythmic structure you'll be using constantly.
- Isolate the Sounds: Really listen to a song and try to pick out the different percussion instruments—the kick drum, the snare, the hi-hat. Tap is all about creating those same layers of sound, but with your feet.
Focusing on listening first builds a rhythmic foundation that makes learning the actual steps feel much more natural. In our Encore Academy tap classes , we make musicality a core part of the curriculum from day one.
The most common mistake I see beginners make is focusing only on their feet. Tap starts in your ears. If you can't hear the rhythm you're trying to make, you'll never be able to create it cleanly.
Nailing Your Posture and Alignment
In tap dance, good posture is non-negotiable. It’s not just about looking polished; it’s critical for preventing injury and producing those crisp, clear sounds. A relaxed but properly aligned body is what allows for the quick, isolated foot movements that define this style.
Here’s how to find your stance. Stand with your feet parallel and about hip-width apart. Your knees should always be slightly bent—never locked—so they can act as shock absorbers. Let your shoulders relax down and away from your ears, and gently engage your core to support your spine.
Think of a string pulling you up from the crown of your head, making you feel tall without creating tension. Most of your weight should be on the balls of your feet, which keeps your heels free to move. This "ready" stance is your home base, the position you'll return to again and again. It’s a skill we drill into all our dancers, from Herriman to Draper, to ensure a safe and strong start.
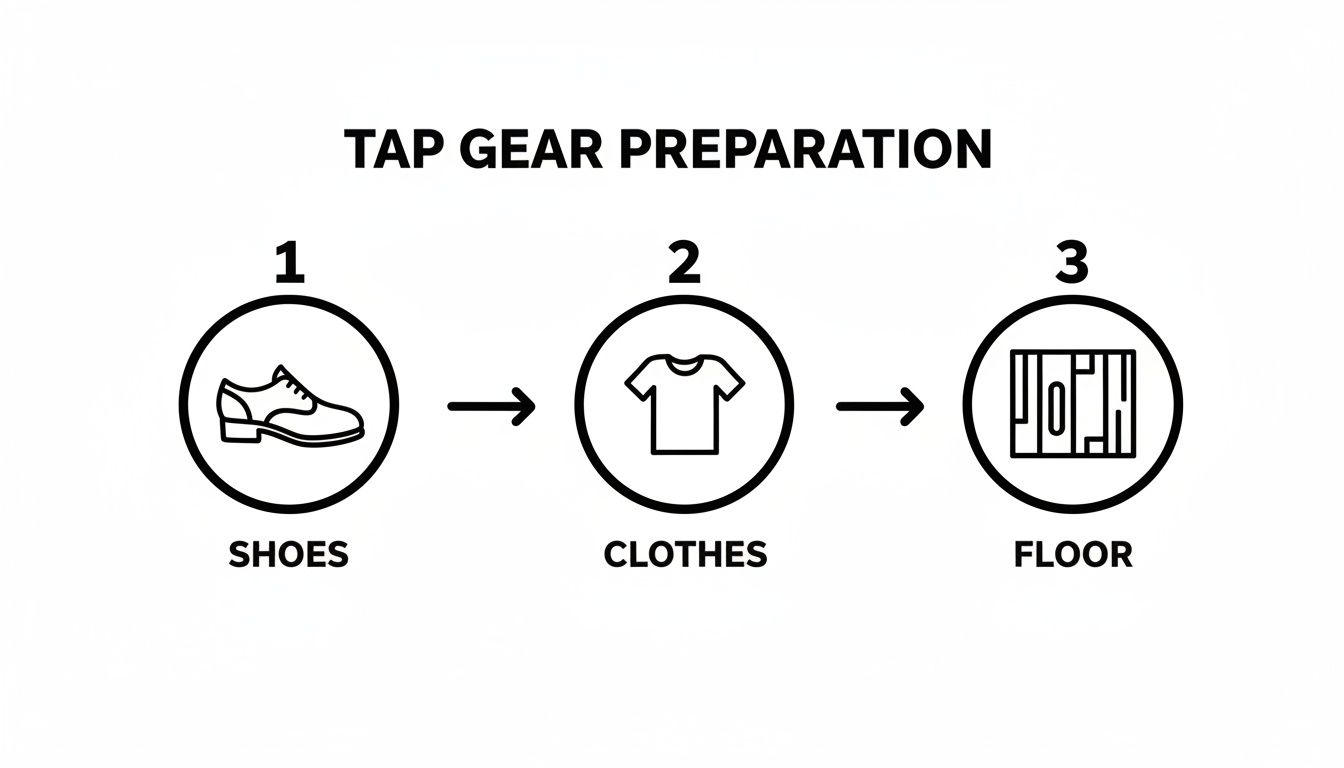
Finding the Right Gear and Practice Space
So, you're ready to start making some noise! Before you jump into your first shuffle, let's talk about gear. Having the right equipment isn't just about sounding good—it's about keeping you safe and helping you build a strong foundation from the ground up. And it all starts with your most important instrument: your shoes.
Picking Your First Pair of Tap Shoes
Walking into a dance store can be a little overwhelming with all the options, but for beginners, the choice is actually pretty simple. I always recommend starting with a full-soled, Oxford-style tap shoe. They provide fantastic support, which is exactly what you need to build up strength in your ankles and find your balance. Split-sole shoes can wait until you're more advanced.
Now, what about the material? Leather is the classic choice; it breathes, and over time, it molds perfectly to your foot for a custom-fit feel. Synthetic shoes, on the other hand, are usually a bit easier on the wallet and don't need much breaking in. Either way, the fit is everything. You want them snug, with no slipping at the heel, but make sure your toes have enough room to lie flat.
What to Wear for Tap Class
You don't need a special uniform to start tapping. The key is comfort and freedom of movement. Think about what you'd wear to the gym—leggings, joggers, or comfortable shorts with a t-shirt or tank top work perfectly. The most important thing is that your clothing doesn't hide your body lines, so an instructor (and you!) can easily see the alignment of your knees and ankles.
Here at Encore Academy, we have a few guidelines to make sure everyone is set up for success in class. You can find all the details in our studio dress code guidelines .
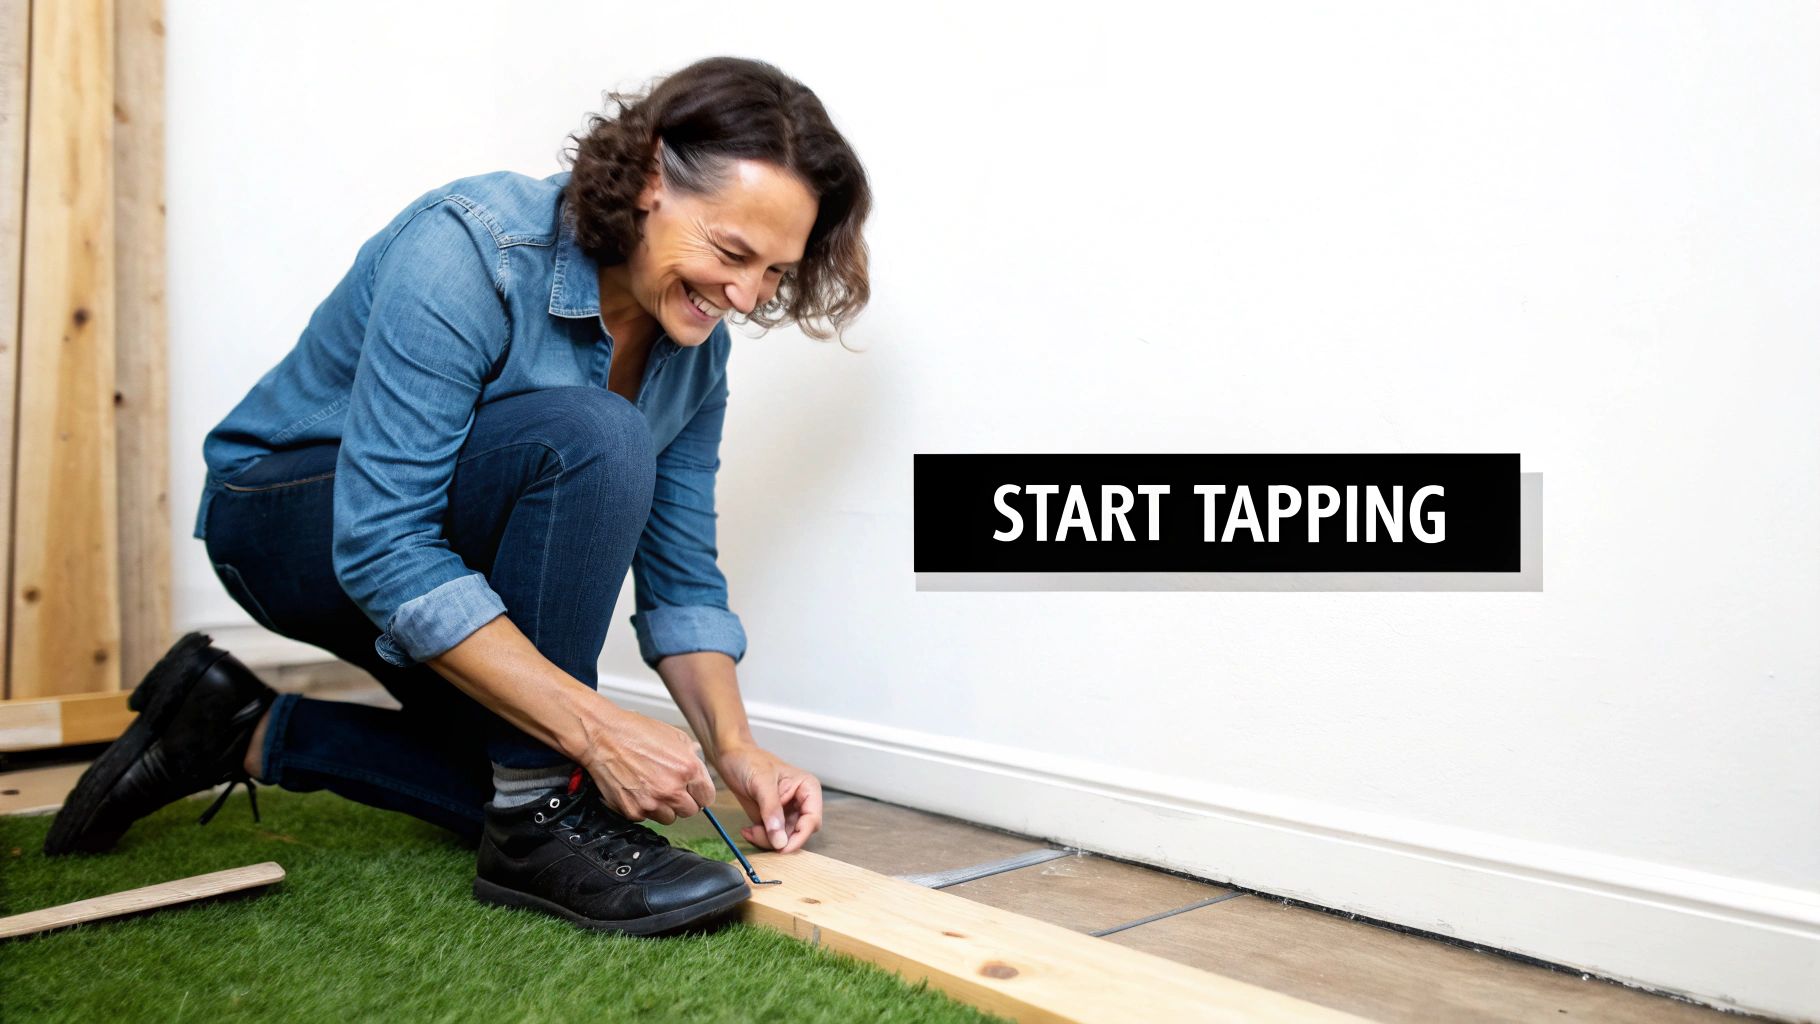
Setting Up a Safe Practice Space at Home
Once you’ve got your shoes and attire, you need a place to practice. And this is a big one, so please don't skip it. The surface you tap on can make or break your entire experience.
Tapping directly on concrete, tile, or a thin floor over a slab foundation is a recipe for disaster. I've seen it countless times—it leads to shin splints, stress fractures, and serious joint pain. Those surfaces have zero give, sending every bit of impact right back up your legs.
Professional dance studios use "sprung" floors, which have a bit of cushion to absorb shock. While you probably don't have one of those in your living room, creating a safe alternative is easier than you think.
A simple piece of 3/4-inch plywood, maybe 4x4 feet, makes a fantastic and affordable practice board. It’s big enough to work on all your basic steps and gives you that crucial shock absorption your body needs. Plus, you’ll get a great, clear sound from it!
Looking for other options?
- Portable Tap Boards: You can buy these pre-made. They're super convenient, especially if you need to move your practice space around, but they do cost a bit more.
- DIY Sprung Board: For even better cushioning, try placing a few high-density foam squares (like the kind used for gym floors) underneath your plywood. This mimics the feel of a professional floor really well.
Taking a few minutes to set up a proper space is the best thing you can do for yourself. Whether you're practicing at our Bluffdale studio or in your own home, protecting your body is the first and most important step to a long, happy tapping journey.
Getting to Grips with the Core Tap Dance Steps
Alright, you've got your gear and a spot to practice, so now the real fun begins. This is where we start building your rhythmic vocabulary, turning simple foot movements into the expressive sounds that make tap so unique. Think of it like learning an alphabet—each step is a letter, and before you know it, you'll be stringing them together into words and musical phrases.
For now, let's put complex choreography out of our minds. The focus here is on the absolute basics: creating clean, distinct sounds and getting a feel for how your weight shifts with every tap.
Proper preparation is half the battle. Getting your shoes, clothes, and floor sorted out first sets you up for a much better (and safer) practice session.
As you can see, what you do before you even start dancing makes a huge difference.
The Two Sounds That Started It All
Believe it or not, every single tap step, no matter how complicated, is built from just two fundamental sounds: the toe tap and the heel drop. Getting these right is the single most important thing you can do as a beginner. Seriously.
- Toe Tap: This is the crisp, light sound from the metal tap on the ball of your shoe. Stand with your knees soft and slightly bent, then lift one foot slightly. Using just your ankle, strike the floor with the ball of your foot. Aim for a light "tick" sound, not a heavy stomp.
- Heel Drop: This is the bass note of tap, coming from the heel. With your weight on the ball of one foot, simply drop the heel of that same foot to the floor. You're looking for a solid, clear "thump."
Start by just alternating these. Stand on your right foot and do 8 toe taps with your left. Switch sides. Then, do the same thing with your heel drops. It might feel a bit robotic at first, but getting comfortable making these sounds on their own is key before we start mixing them up.
Meet the Shuffle
The shuffle is that classic tap sound everyone knows. It's just two brushing motions—one forward and one back—and it's all about ankle control. A good shuffle has two distinct sounds, not one long "shhhhh" scraping noise.
Here's how it works:
Put your weight on your supporting leg (let's say your left).
With your right foot, brush the ball tap forward against the floor. That's sound number one.
Without stopping or putting any weight down, immediately brush that same tap backward. That's sound number two.
The whole movement should swing from the knee, like a pendulum. Your thigh should stay pretty still. A really common beginner mistake is swinging the entire leg from the hip, which makes the sound muddy and is much slower.
I tell my students all the time: a clean shuffle comes from a relaxed ankle. If you’re tense, you’ll never get those two separate sounds. Let your ankle be loose and think of it as just flicking the floor.
Moving On to the Flap and Ball Change
Once you've got a decent shuffle, the flap is the natural next step. It's basically a shuffle that travels and lands with your weight on it. You'll do a forward brush followed immediately by a step onto the ball of that same foot. It’s a workhorse step that gets you moving across the floor.
Next up is the ball change. This is just a super quick weight shift from the ball of one foot to the other. Think "back-front." It's used everywhere in tap to change direction or just add a little rhythmic spice between other steps. Simply step onto the ball of your back foot, then quickly shift all your weight to your front foot.
For a closer look at these steps, our guide on essential tap dance steps for beginners has detailed videos and tips to help you nail them.
Drills Build the Skill
Knowing how to do a step in theory is one thing. Being able to execute it cleanly without thinking is another. That's where muscle memory comes in, and the only way to build it is through repetition. It’s the same discipline we see in our students from Draper and Riverton—what they learn at our Bluffdale studio, they solidify with practice at home.
Try this simple drill to start connecting the dots:
- Do 4 slow shuffles with your right foot.
- Follow it with a flap on your right foot.
- Finish with a ball change (step back on the left, then forward on the right).
- Now, do the whole thing starting with your left foot.
When you start, go painfully slow. Your only goal is to make every single sound perfectly clean. Speed will come later. Tap dance really starts with your ears—if you can't hear the rhythm clearly, you're not making it cleanly.
These fundamentals—toe taps, heel drops, shuffles, flaps, and ball changes—are your new vocabulary. Practice them every day, and you'll be speaking the language of tap in no time.
How to Practice and Build Your Skills
Knowing individual steps like the shuffle and flap is a great start, but the real magic happens when you start stringing them together. This is the moment you stop just doing steps and actually start dancing. It’s all about building the flow, confidence, and musicality to turn those fundamental sounds into your own rhythmic voice.
From here, we can dive into more dynamic and intricate steps that form the backbone of classic tap choreography. These aren't just fancy add-ons; they're the essential tools you’ll use to create complex rhythms and textures. Mastering them is your gateway to becoming a much more versatile and expressive tapper.
Introducing More Dynamic Steps
Once you're feeling solid with the basics, it's time to expand your vocabulary. These next few iconic steps add new layers to your dancing by combining the core sounds you already know in new and challenging ways. They'll push your coordination and timing to the next level.
Let’s break down a few of these essential building blocks:
- The Time Step: This is easily one of the most famous sequences in tap. A traditional time step is a set rhythmic pattern that helps dancers keep time with the music. It often starts with a "stomp" or a "hop" and follows a specific eight-count pattern, making it the perfect exercise for sharpening your musicality.
- The Cramp Roll: Think of a drum roll, but with your feet. A cramp roll is a sequence of four quick, tight sounds: ball (right), ball (left), heel (right), heel (left). It’s a fantastic drill for developing foot articulation and speed.
- The Paradiddle: This step gets its name from a drumming pattern and is all about creating a distinct four-sound rhythm. A basic paradiddle is heel, spank, ball, heel. It's excellent for building control and creating those syncopated, off-beat rhythms that make tap so interesting.
With these steps, patience is everything. Focus on getting each individual sound clean and clear before you even think about speed. The goal is clarity, not just noise.
Creating a Structured Practice Plan
Consistency is what turns a beginner into a dancer. A good practice plan ensures you’re working on every part of your technique, from fundamental sounds to full combinations. For our students who travel to our Bluffdale studio from Riverton or Draper, having a solid at-home routine is what really cements what they learn in class and drives progress.
The secret to clean, fast footwork isn't magic; it's muscle memory. And muscle memory is only built through slow, deliberate, and consistent repetition. Your brain needs time to build the neural pathways that make these complex movements feel effortless.
Research actually backs this up. Studies show that a structured curriculum with 2–3 practice sessions per week (around 45–60 minutes each) leads to major gains in timing and coordination in just 8–12 weeks. In fact, novices have shown performance improvements of 10–30% on timing tests after this kind of focused practice.
And don’t forget safety! Proper footwear and sprung floors can reduce lower-leg and ankle strains by 30-50%.
A solid practice session should always have three parts: a warm-up, skill drills, and a cool-down. Before you even put on your tap shoes, spend a few minutes warming up your ankles, knees, and hips. For some great ideas, you can explore our guide on flexibility training for dancers .
Beginner Tap Practice Plan (3-Day Sample)
To get you started, here is a simple weekly practice schedule. This framework helps structure your time at home to build skills consistently and see real improvement.
| Day 1 | Sound Clarity | 20 mins. | Warm-up (5 mins). Slow, deliberate shuffles, flaps, and ball-changes (5 mins). Listen for two distinct sounds in your shuffle. Cool-down (5 mins). |
|---|---|---|---|
| Day 2 | Rhythm & Timing | 20 mins. | Warm-up (5 mins). Practice Time Steps with a metronome at 60 BPM (5 mins). Focus on staying perfectly on beat. Gradually increase speed only when the rhythm is solid. Cool-down (5 mins). |
| Day 3 | Combinations | 20 mins. | Warm-up (5 mins). Practice transitioning between steps: Shuffle -> Ball-Change -> Flap. Try to make the weight shifts seamless with no pauses. Link 4-8 counts together. Cool-down (5 mins). |
Remember, this is just a template. Feel free to adjust the drills based on what you’re learning in class or what you feel needs the most work. The key is to be consistent!
Sample Practice Drills for Skill Building
To make your practice time really count, focus on drills that target specific skills rather than just running through choreography.
Here’s a simple framework to get you started:
Sound Clarity Drills: Dedicate five minutes to just the basics. Do slow, deliberate shuffles, flaps, and ball changes. Try closing your eyes and just listening. Is your flap clean? Are both sounds of the shuffle distinct?
Speed Building: Grab a metronome. Start at a slow tempo (like 60 BPM) and practice a step like the cramp roll. Once you can nail eight in a row perfectly, bump the speed up by 5 BPM. This gradual approach builds speed without sacrificing clarity.
Transition Practice: Smooth dancing is all about seamless transitions. Practice moving between different steps—for example, a shuffle, into a ball change, then a flap. Work on making those weight shifts feel natural and fluid, without any awkward pauses.
This kind of focused practice is about quality over quantity. Ten minutes of deliberate, mindful drilling is so much more valuable than an hour of sloppy, mindless tapping.
Why Learning in a Dance Studio Makes All the Difference
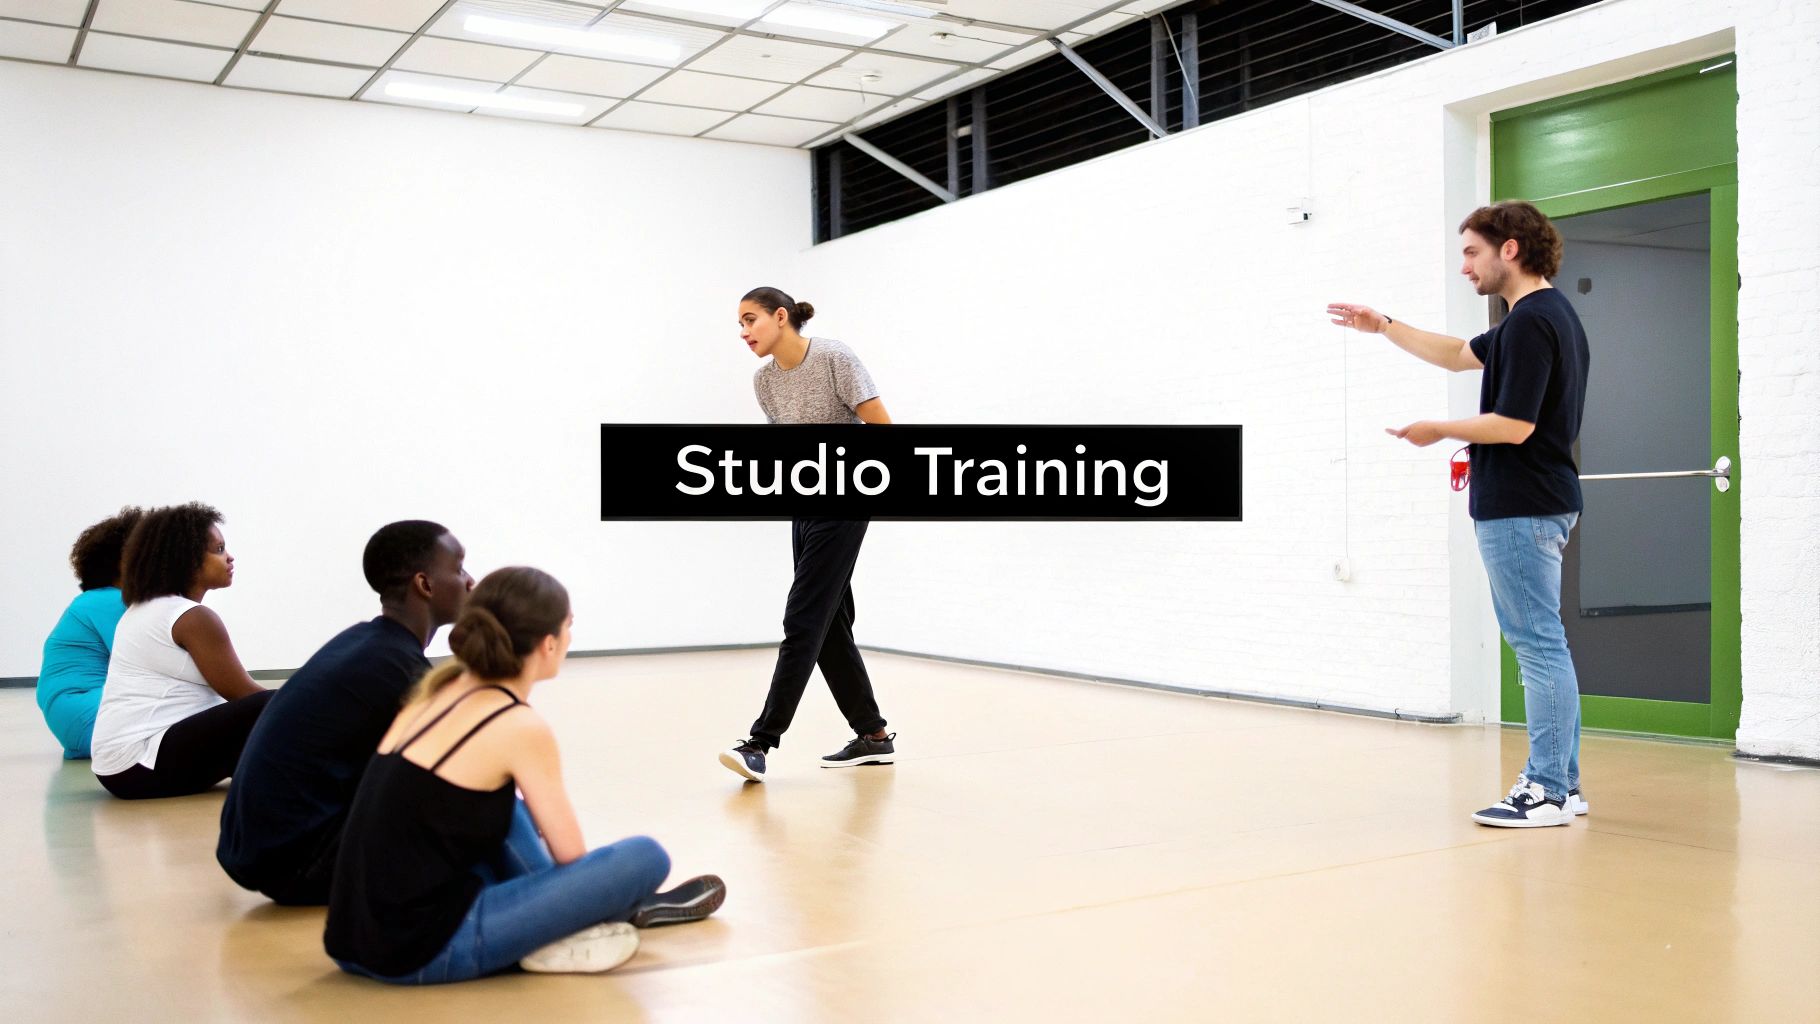
Practicing at home is a fantastic way to build muscle memory, but there’s simply no substitute for learning in a professional studio. While teaching yourself can get you started, joining a class is what turns a slow crawl into a confident stride. It’s the difference between guessing what a step should feel like and having an expert show you exactly how it’s done.
The guidance you get from a skilled instructor is priceless, especially when you’re learning how to dance tap. They give you immediate, personalized feedback that you just can’t get from a video. A trained eye can spot subtle issues with your weight placement or ankle articulation that, if left unchecked, can quickly become ingrained bad habits.
Personalized Feedback and Keeping You Safe
An instructor's number one job is to make sure you're building a strong, safe foundation. By correcting your technique in real-time, they help you avoid those common mistakes that often lead to strain or injury. This hands-on guidance is critical for mastering tap’s incredibly detailed movements.
For instance, a teacher might see you’re trying to make a shuffle sound by swinging from your hip instead of using your ankle. It's a classic beginner mistake that not only creates a muddy sound but also puts a ton of unnecessary stress on your joints. Catching and fixing that early makes all the difference.
The real magic of a studio is having a teacher who can say, "Relax your shoulders," or, "Shift your weight just a hair more." These tiny adjustments have a massive impact on your sound, balance, and long-term joint health.
The Power of a Structured Environment
A studio is so much more than just a place for lessons; it’s a complete support system. For families in communities like Riverton and Draper, joining our Bluffdale studio means getting a curriculum thoughtfully designed for steady, logical growth.
Here’s what you get in a quality studio environment:
- Professional Floors: We dance on sprung floors designed to absorb shock. This makes a huge difference in protecting your knees and ankles, letting you practice longer and more safely.
- Community and Motivation: There’s an incredible energy that comes from learning alongside others. It pushes you to try harder, and you get to celebrate everyone's progress together.
- A Clear Path Forward: A set curriculum ensures you learn steps in an order that makes sense, building from simple foundations to more complex combinations. This really speeds up your learning.
This kind of structure benefits everyone. Industry-wide, adding specialty classes like tap can boost family retention by 10–25% in full-service studios. For competitive dancers, tap often increases team enrollment by 5–12% because it adds rhythmic depth and valuable stage skills.
The blend of expert guidance, safe facilities, and a supportive community is what makes studio training so effective, especially for dancers looking to grow at a performance dance center . In the end, joining a class is an investment in a faster, safer, and much more enjoyable journey to becoming a confident tap dancer.
Got Questions About Learning to Tap? We've Got Answers
Stepping into the world of tap dance for the first time is exciting, but it’s totally normal to have a few questions buzzing around your head. Whether you're wondering if you've missed your chance or what you need to practice at home, getting some straight answers can make all the difference. We hear these questions all the time, so let's clear them up.
"Am I Too Old to Start Learning Tap?"
Let me be clear: absolutely not. One of the best things about tap is that it’s a low-impact dance form that people of all ages can enjoy and benefit from. Seriously. It's an incredible way to sharpen your balance, improve coordination, and give your brain a great workout by memorizing new rhythms.
We see so many adults from communities like Sandy and Lehi fall in love with tap. They find it’s a genuinely fun way to stay active and connect with others. You are never too old to learn something new, especially something that adds so much joy to your week.
"I remember being the only complete beginner in my first adult class. It could have been intimidating, but I was just excited to be there. Adult beginners bring something special to the studio: choice. You're there because you truly want to be."
Our adult beginner classes are built from the ground up to be supportive and welcoming, so everyone feels comfortable learning at their own speed.
"What Kind of Floor Is Safe for Practicing Tap at Home?"
This is probably one of the most critical safety questions we get, and for good reason. Tapping on the wrong surface is a surefire way to get injured, so it's essential to get this right before you even start.
Stay away from practicing directly on hard, unforgiving surfaces. I'm talking about:
- Concrete
- Tile
- Thin carpet stretched over a concrete slab
These materials have zero shock absorption, meaning the impact from every step travels right back up into your joints. That’s a fast track to shin splints, stress fractures, or nagging pain in your knees and ankles.
For practicing at home, a portable tap board is a fantastic investment. Even a sturdy piece of thick plywood will do the trick. It not only protects your joints and your floors but also helps you hear your sounds much more clearly.
"How Long Does It Take to Get Good at Tap?"
Ah, the million-dollar question! The truth is, progress is a personal journey and really boils down to consistent, focused practice. There isn't a set timeline, but with regular effort, you'll be surprised at how quickly you see improvements.
Most beginners who take one class a week and practice a bit at home get the hang of foundational steps—shuffles, flaps, and ball-changes—within a few months. Moving up to an intermediate level, where you're tackling more complex rhythms and faster footwork, might take a year or two of dedicated work.
The real key is to fall in love with the process and celebrate those small wins. Our instructors at our Bluffdale location, just a short drive for dancers in Herriman, are passionate about building a clean, strong foundation. This way, you don't just memorize steps; you truly understand the technique, which helps you progress with confidence and stay injury-free.
Ready to find your rhythm with expert guidance? At Encore Academy for the Performing Arts, we create a supportive, fun environment where dancers of all ages can discover the joy of tap. Book a trial class and take your first step with us today